Install AlertTile®
Everything you need to know to ensure fast, code-compliant installations that last.
AlertTile® Installation Guide
Helpful Links
What You’ll Need
Product Contents
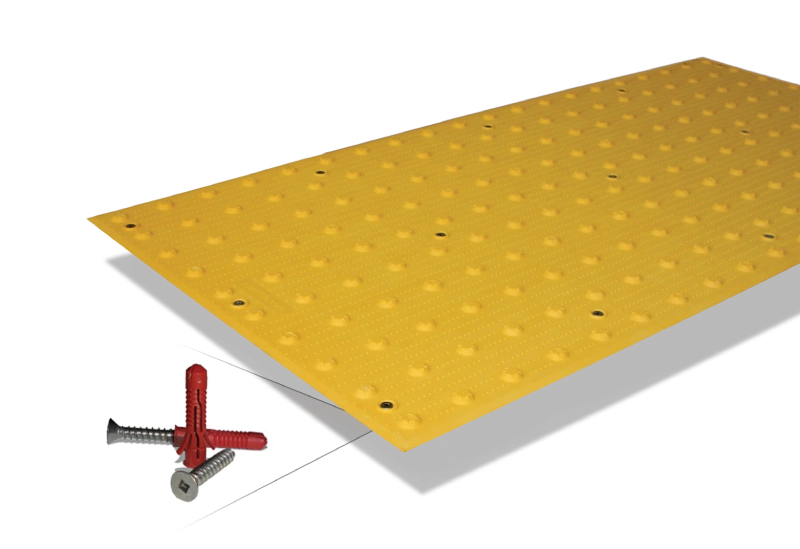
- 1 × AlertTile detectable warning panel
- 4 × Hilti HUD-1 sleeve anchors with stainless steel screws
- 1 × NP-1 Adhesive / Sealant (one-part, BASF brand)
Tools and Equipment Needed
- Hammer drill with 5/16” x 3” carbide-tipped masonry bit
- Caulking gun + sealant edging tool
- Concrete grinder or diamond cup grinder
- Broom and masking or duct tape
- Clean cloth and acetone (for surface cleaning)
- PPE: gloves, safety glasses, and workwear
Step-by-Step Installation Instructions
Step 1
Ensure concrete substrate complies with all Federal, State, and local standards and building codes.
Verify substrate meets all project plans and specifications prior to installation.
Step 2
Clean the installation area of all debris, dust, oil, grease, concrete laitance, and surface moisture.
Use a diamond cup grinder, pressure shot-blaster, or wire brush to remove all foreign material.
Step 3
Lay out the panel on the concrete substrate and mark the corners with a pencil to designate the location.
Note: This method is not recommended or warranted for asphalt installations.
Step 4
Flip the panel over and apply a continuous bead of NP-1 adhesive 3/4” from the edge.
Follow the scored perimeter and the center cross pattern for full adhesive coverage.
Step 5
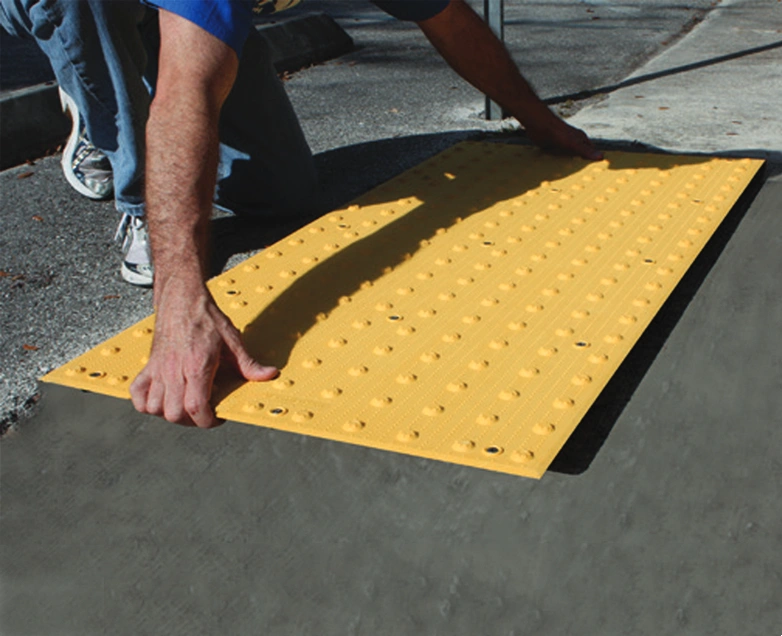
Place the panel in the marked area and make any necessary position adjustments.
Drill 2” deep holes through the panel using a 5/16” carbide-tipped masonry bit.
Clear all drilling debris and dust from the holes before proceeding.
Step 6
Start in the middle and work toward the edges, inserting anchors and #14 stainless screws into the countersunk locations.
Use a #3 square head bit and downward pressure to drive anchors flush with the concrete substrate.
Tighten screws until they are in full contact with the panel’s countersunk surface.
Step 7
Apply a perimeter bead of NP1 or equivalent sealant around the entire panel.
Blend and taper the caulk into a smooth cove profile between the tile edge and the concrete.
Safety Notes & Best Practices
- Always wear gloves, goggles, and safety gear
- Do not substitute fasteners or adhesives
- Confirm site conditions meet temperature and moisture requirements
Spec Support & Technical Documents
Need documentation for review or submittals before we install? We’ll provide everything you need: