Everything you need to know to ensure fast, code-compliant installations that last.
How to Install RediMat Detectable Warning Tiles: A Complete Step-by-Step Guide
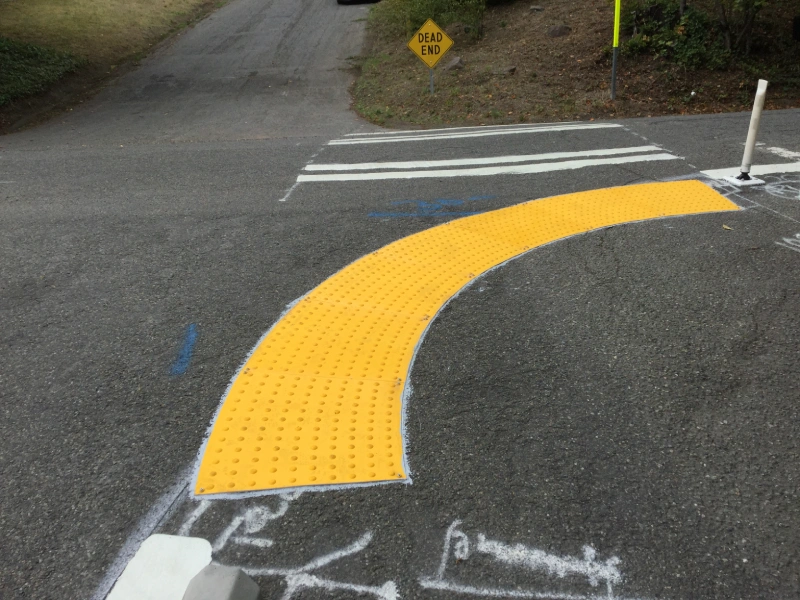
The RediMat is the most installer-friendly surface applied detectable warning on the market. Review the instructions below or click here to download the PDF version.
Storage & Handling: Store RediMats at room temperature in a dry space.
Surface Prep: Ensure the substrate is smooth, intact, fully cured, and free of moisture.
Temperature Requirements: Install only when temperatures are at or above 50°F and rising.
Surface Suitability: Compatible with asphalt and concrete. Not designed for areas with vehicular traffic.
Tip for Cold Weather Installs: Use a hand torch to heat the surface to approximately 95°F for optimal adhesion.
Cleaning the Surface
Use a stiff wire brush to roughen the surface for better grip.
Follow up with a broom and blower to remove all oils, dirt, and debris.
Cleanliness is critical, as adhesion will fail if any contaminants remain.
Step-by-Step RediMat Installation Guide
Install in less than 10 minutes.
Step 1
Prepare surface and place mat in its final position, leaving a 1/8″ gap between any adjoining mats.
Step 2
Lift and Reveal: Stand on one side, lift the opposite edge, and remove one section of the backing.
Step 3
Press & Secure: Roll the exposed section onto the surface to bond it.
Remove Remaining Backing: Stand on the secured end, lift the opposite side, and peel away the rest of the backing.
Step 4
Lift and Remove: Stand on the secured end, lift the remaining side, and peel away the rest of the backing.
Step 5
Full-Surface Pressure: Shuffle your feet side-to-side and front-to-back across the entire mat, ensuring all four edges are firmly pressed into the surface.
Pro-Tip: For the most secure bond, the RediMat Installation Roller is the preferred tool for this step.
Step 6
Skip anchors for traditional concrete installs.
Use provided corner anchors for asphalt, challenged surfaces, or specific owner requirements.
Step 7
Drill through the mat and substrate using a 5/32” masonry bit.
Tighten the screw and washer until the washer is snug enough to allow a slight finger twist.
Avoid overtightening or using any non-provided anchor types.
Step 8
Cut the sealant nozzle at a 45° angle and apply a smooth bead around the entire perimeter.
Press the bead firmly between the surface and the mat edge rather than letting it sit loosely.
Apply sealant to all edges, as it is required for a successful installation.
Tech Documents Ready for Your Project
We make it easy for engineers, contractors, and agencies to review our specs before or after installation:
Need help tailoring RediMat® to a specific project layout? We’ll work directly with your team.
RediMat Install Questions?
From bonding concerns to anchor use and surface requirements, we’ve helped teams across the country get their RediMat® installs done right, and we’re ready to help you too.